Introduction
Hi all 👋 , Hope you are all doing good. You might have have already guess what this blog is going to be about. Yes, today we are going to discuss about hosting web3-native softwares with Valist. If you are an WEB3 developer, building Games or Dapp then you might have already heard about Valist, if not then read through this blog and you will know almost everything.
PS: I will let you in on secret. If you are still hosting your dapps on web2, then you are not web3 developer yet 😅.
What is Valist ?🤔
Everyone of you whether developer or not, must have used the app store on iPhone or playstore on androids to download the applications. In Web3 world Valist is the app store and web3-native software publishing protocol.
But unlike the centralised platforms here :
- You own your product
- You own your users
- Once hosted your product will be deployed permanently
- Importantly you don't have to pay for hosting the applications.
Feels unreal right ? It's fine, being dependent on the centralised system for long time I too had hard to believe it 😂.
But now it's time to change that.
How Valist achieves this ? 🤔
Valist team works with best web3 protocols, like Polygon, IPFS, Filecoin and many other networks to make everything possible.
This allows the support to publish any kind of software from binaries to web app to Unity Games. On top of that they maintain the familiar feel and look from our web2.
The most popular, and supported use cases for Valist are:
- Publishing static web apps (Next.js, Create React App, Gatsby, etc.)
- Publishing Unity games and apps
- Monetizing Unity games with Software License NFTs (i.e., selling and token-gating a Unity game for $20 USDC or DAI easily)
- Publishing static binaries and executables (Golang, Rust, and other binaries are excellent fits here)
- Publishing Electron & other desktop apps
- Publishing apps to multiple platforms (Mac, Windows, Linux, Android, and Web currently supported)
How to start ?
Note: I recommend you to go through Valist docs for creating account as there might be some update from when this blog was published.
Let's create an account on valist :
Very easy three steps:
- Connect your wallet.
Add Basic Info and Account Members:
- Basic Info:
- Account Image (Optional)
- Account Name (Required. Think about name carefully as it can't be modified in future.)
- Display Name (Required and can be modifed)
- Website (Optional)
- Account Members:
This is a super important step! This is the list of addresses that will become administrators on this account. Every account member has access to publish across any project within the account, as well as modify other account & project settings. Be mindful who you give access here! For even higher security, you can also put a Gnosis Safe Multi-sig here (*Polygon only) to ensure that multiple admins need to sign off on an action.
- Basic Info:
Create and Sign:
- Once clicked on Create button after above step you will be popped up with a window where you will need to click on sign.
This will be a meta-transaction which means Valist will be paying for gas and other things, they just need authorisation.
- Once clicked on Create button after above step you will be popped up with a window where you will need to click on sign.
If you are stuck, you can always ping Valist team on discord and they will help you out.
That's it you have just created your account on Valist 🎉🎊 .
Let's create project and publish it :
Creating Project:
Add basic Info:
- Project Image (Optional)
- Project Name (Required. Cannot be change)
- Display Name (Required. Can be modified)
- Website (Optional)
- Type (What type of application will it be? For this blog I am writing about web app only)
Tags (You can add tags as per your project)
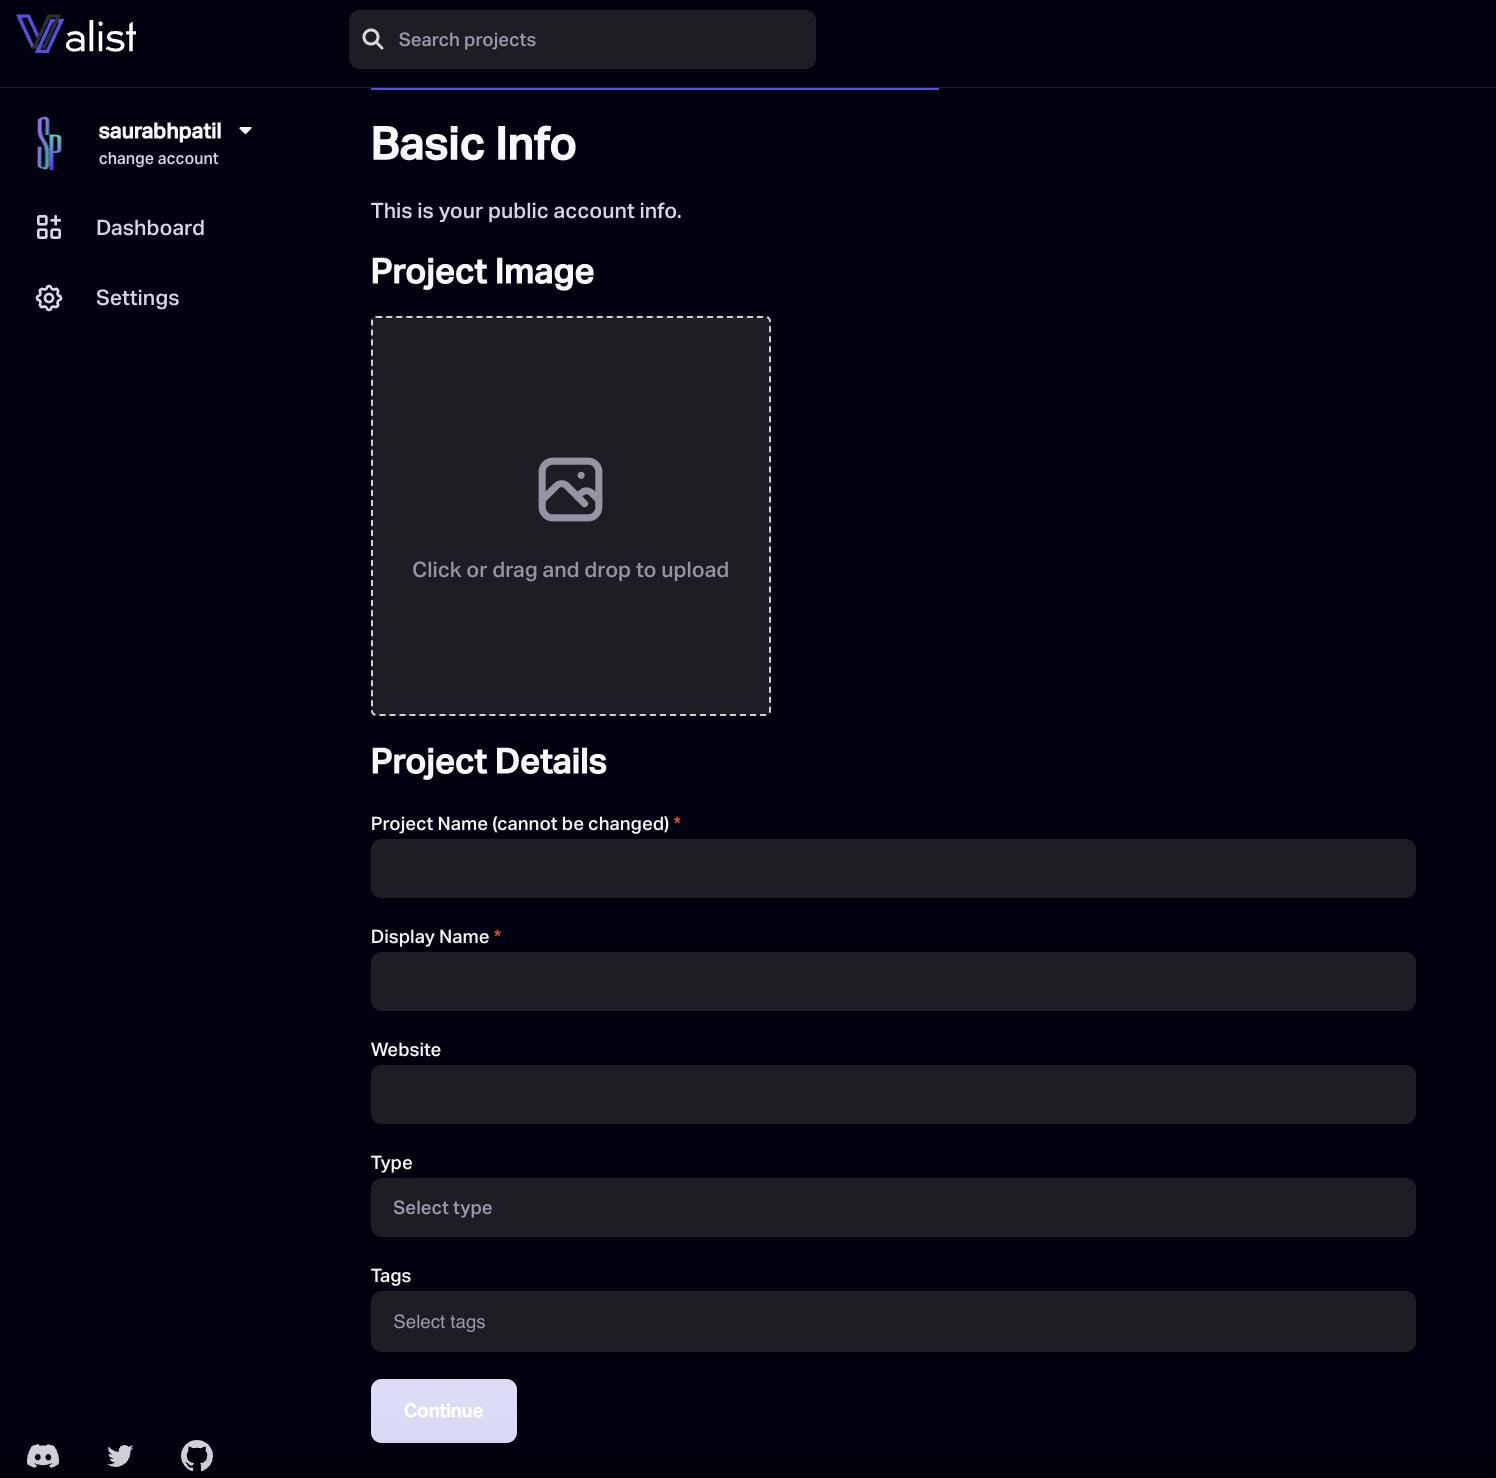
Add Description:
You can add the best suited description for your project.
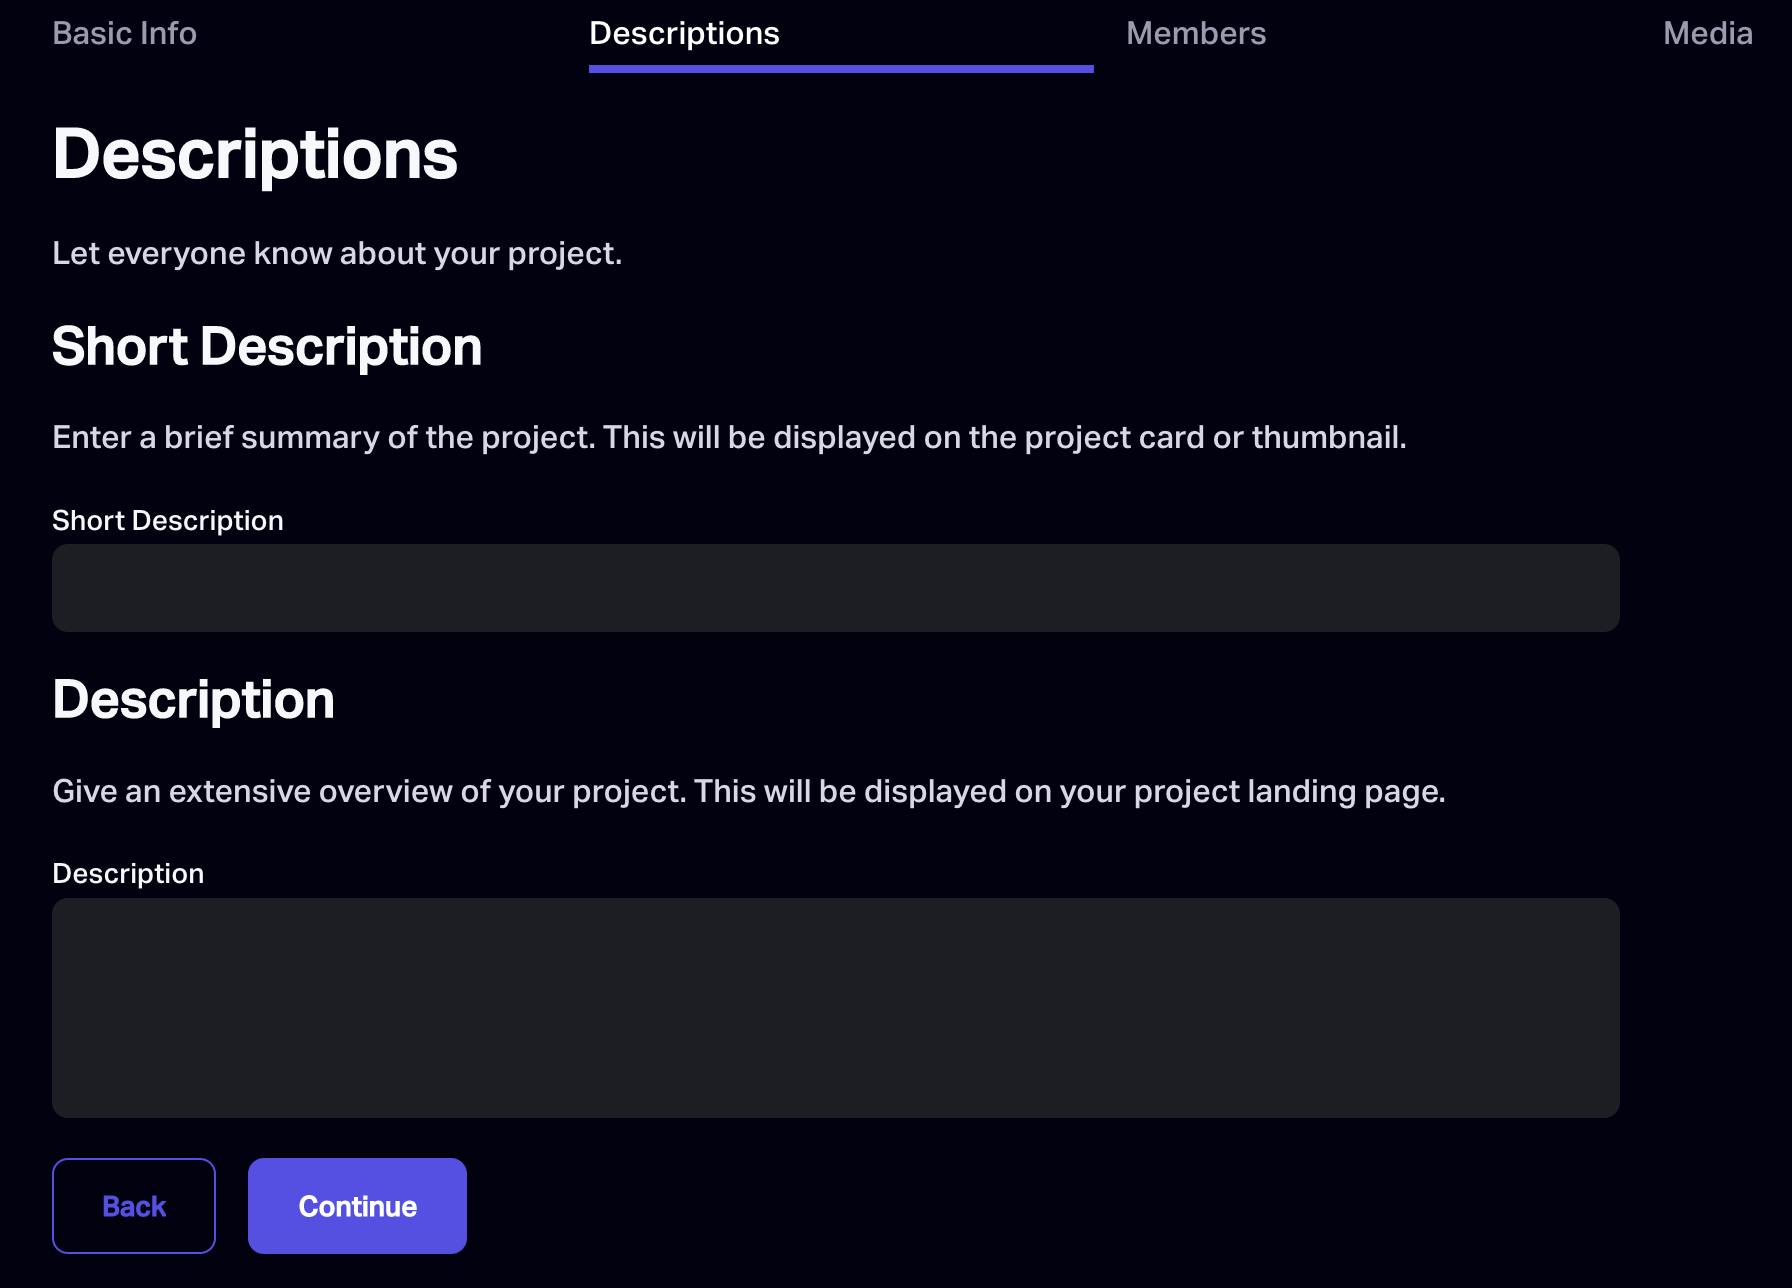
Add your Members/Teammates:
- Your teammates can modify or publish new releases.
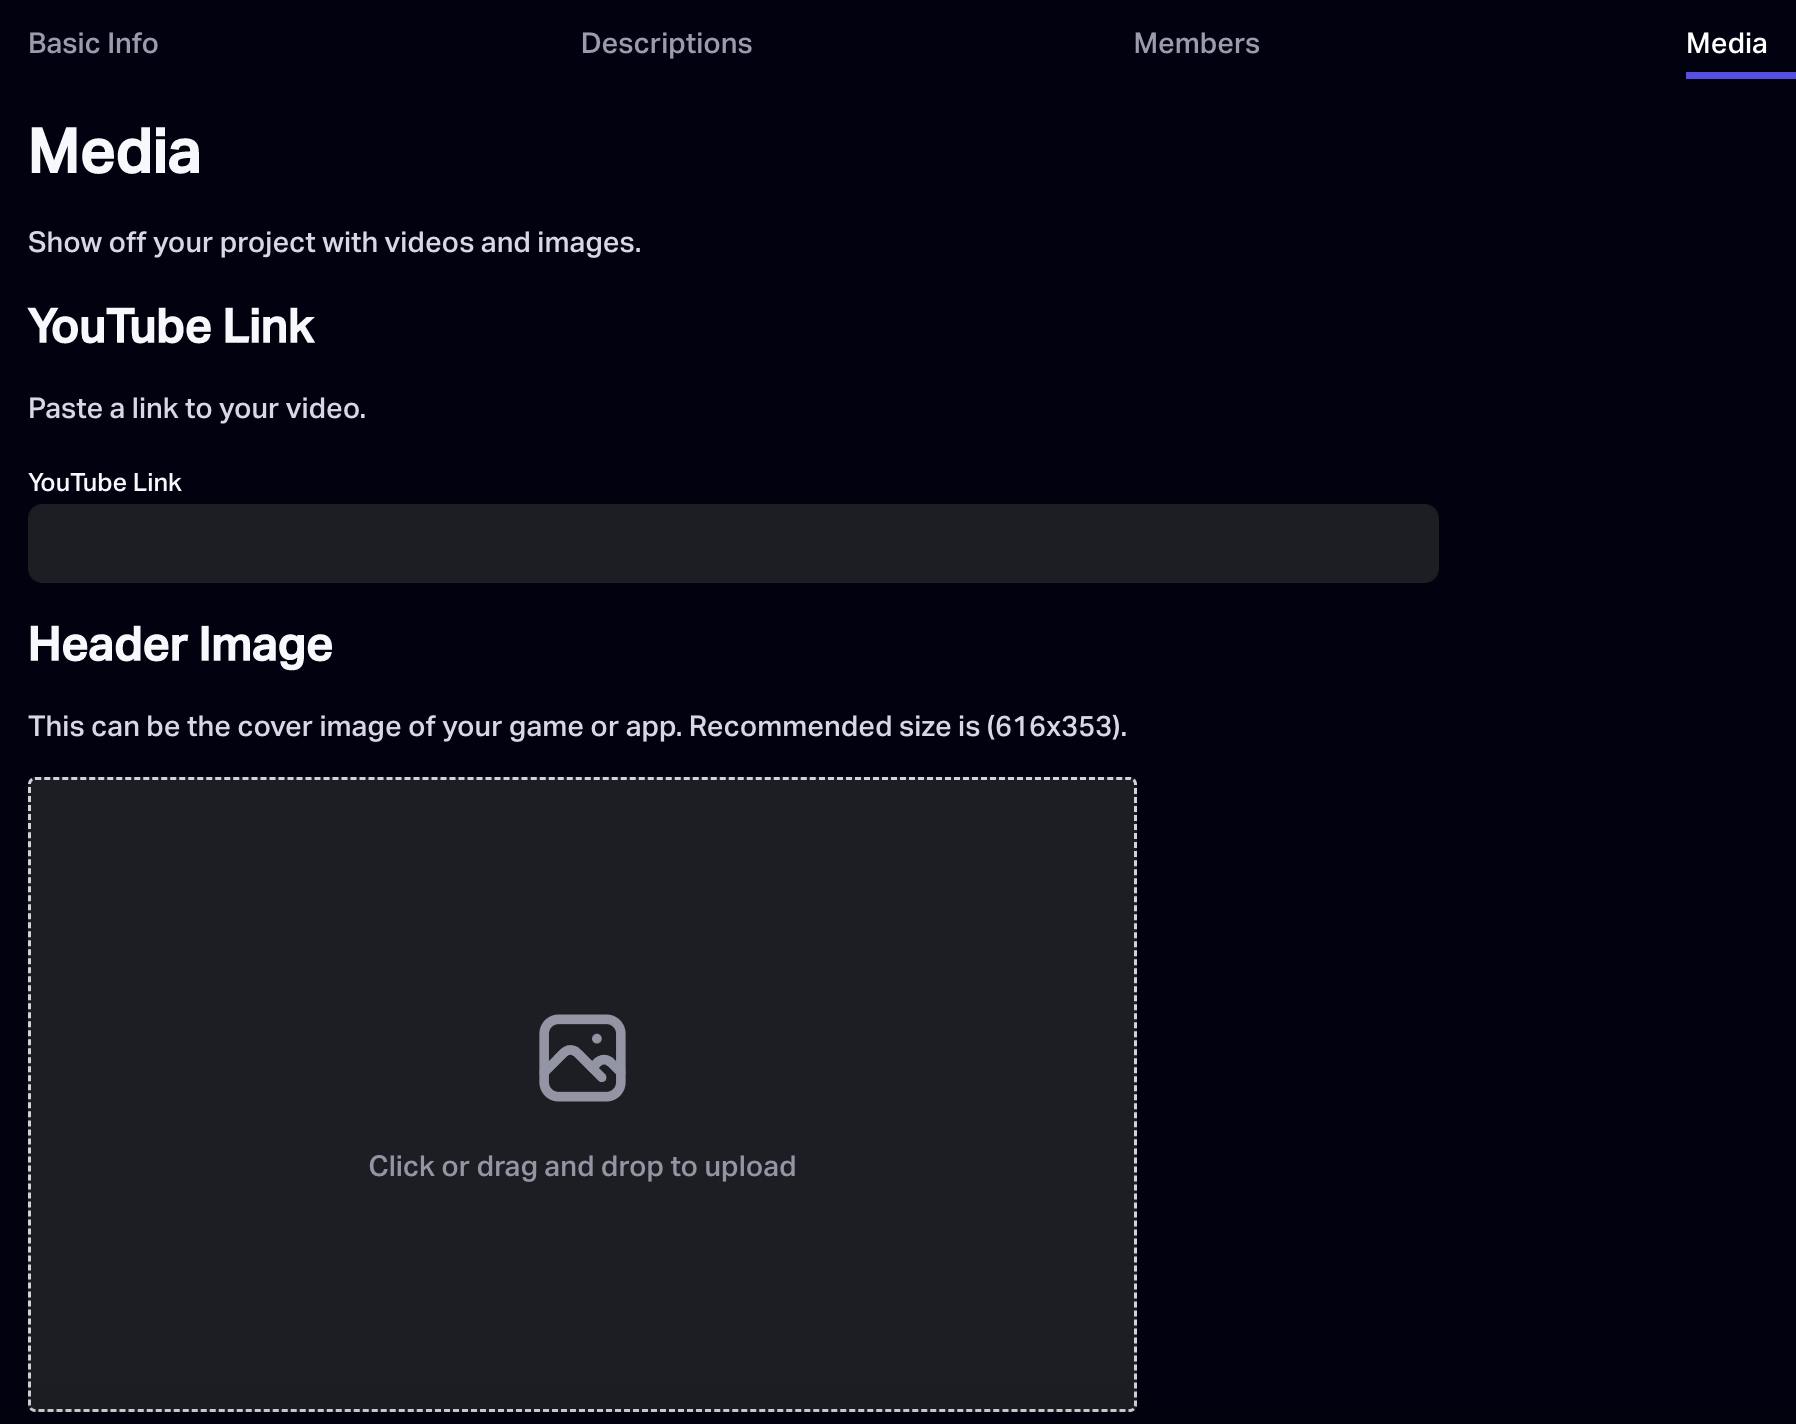
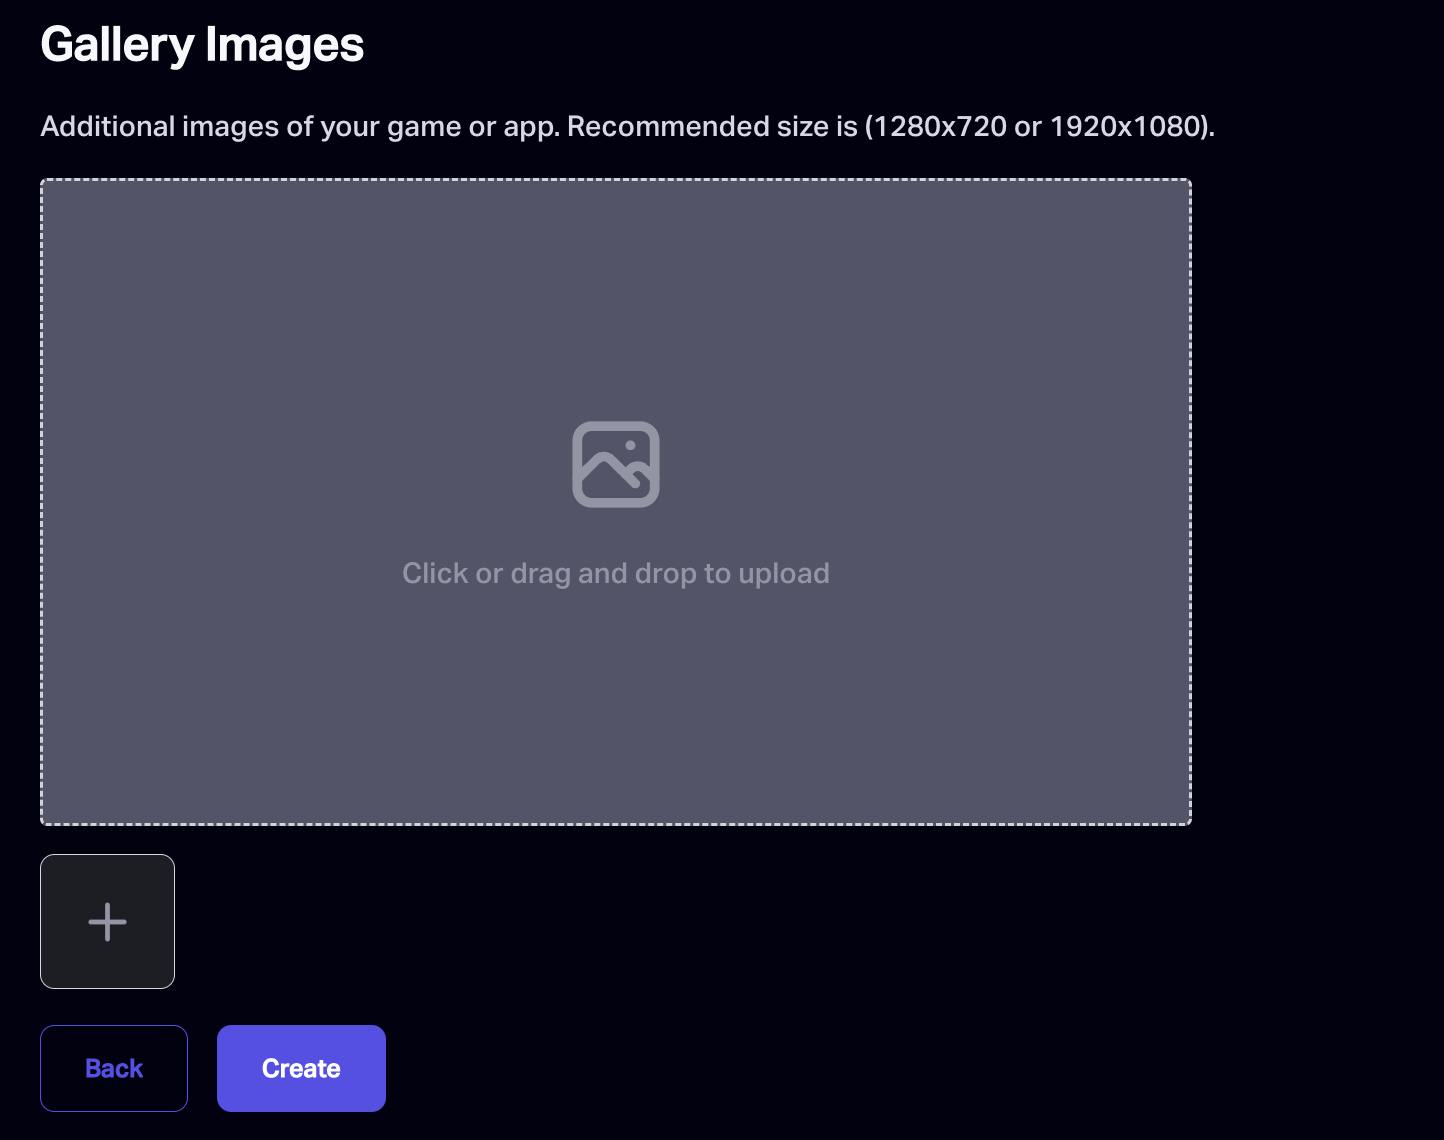
Add media:
You can add your youtube link or some preview images of your of your projects.
Create and Sign:
- Once clicked on Create button after above step you will be popped up with a window where you will need to click on sign.
This will be a meta-transaction which means Valist will be paying for gas and other things, they just need authorisation.
- Once clicked on Create button after above step you will be popped up with a window where you will need to click on sign.
If you are stuck, you can always ping Valist team on discord and they will help you out.
Building Project :
Build your Next.js Project statically:
Next.js need some special care, so make sure to have this in your package.json
  "scripts": {
    "export": "next export",
  },
Unfortunately, Next.js server-side features like image optimization and API routes are not supported in static build environments. If you are using next/image for your images, you will need to add the following to your next.config.js file:
  images: {
      unoptimized: true,
  },
- Then, build and run the app by running the following:
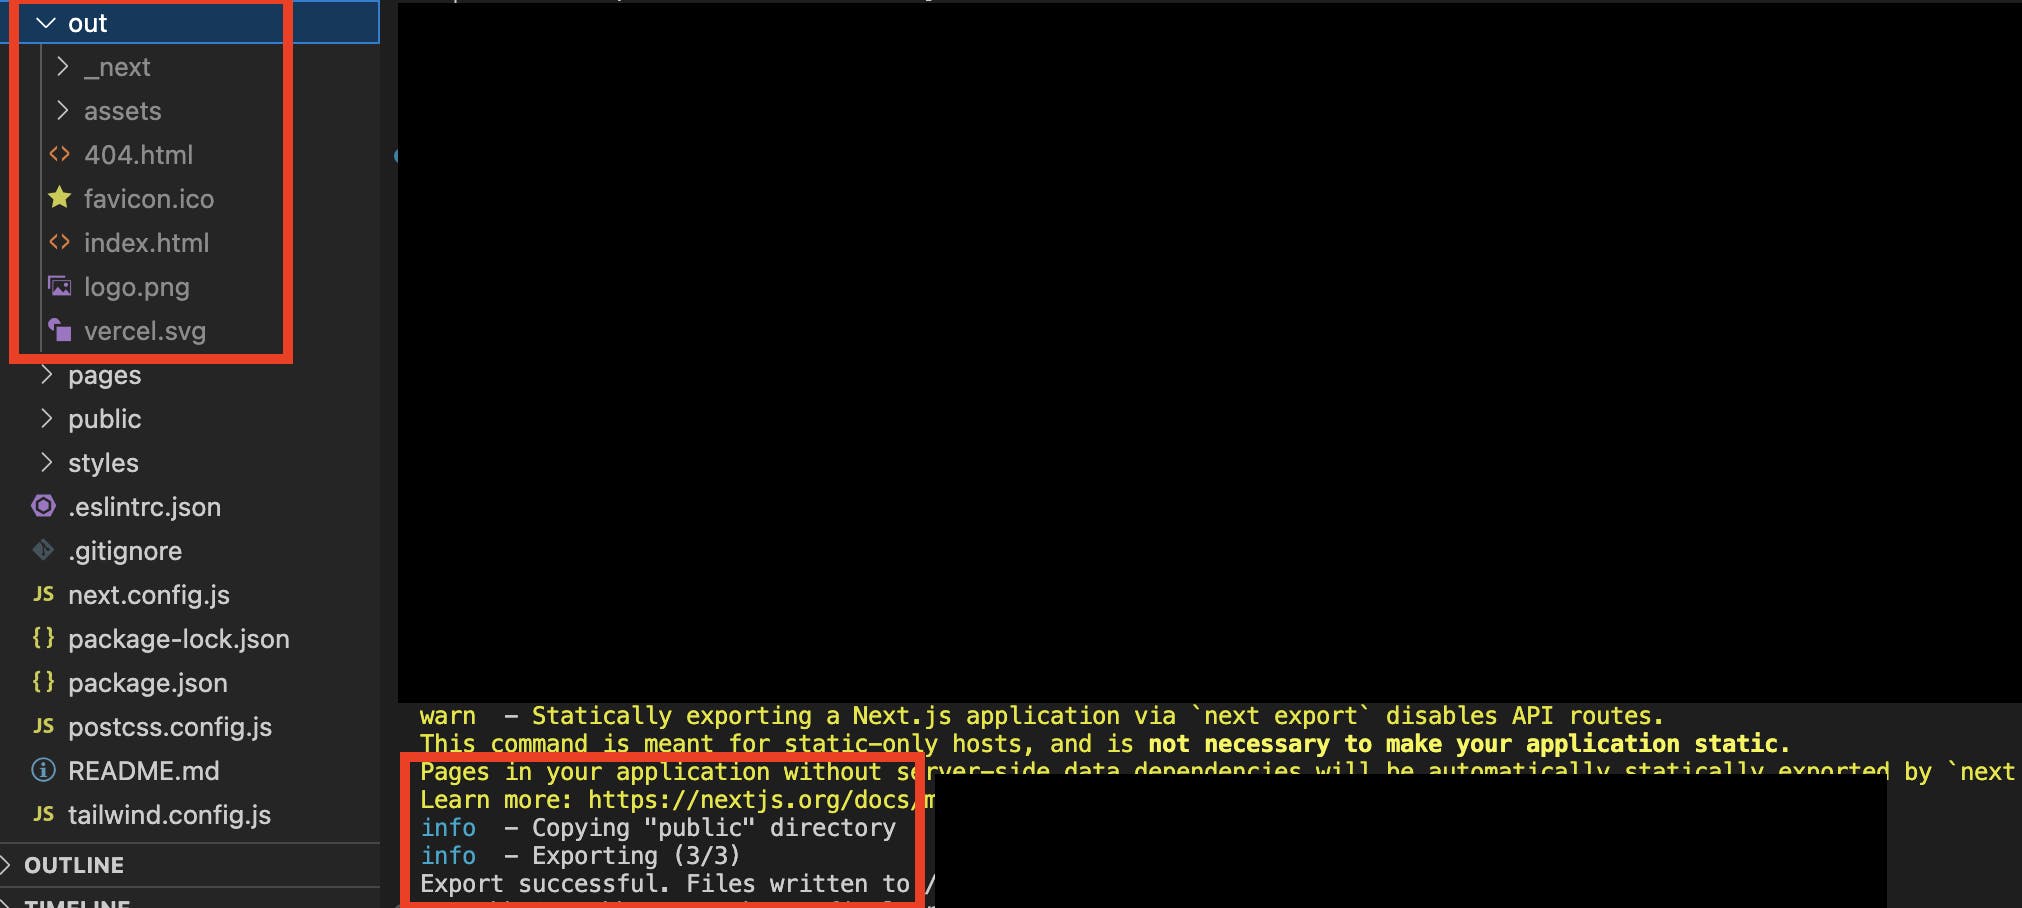
npm run build npm run export - This will then create a folder named out in the project directory.
It should look like this:
Publishing Project :
Publishing:
- Open the project in which you want to make a release.
Click on new Release:

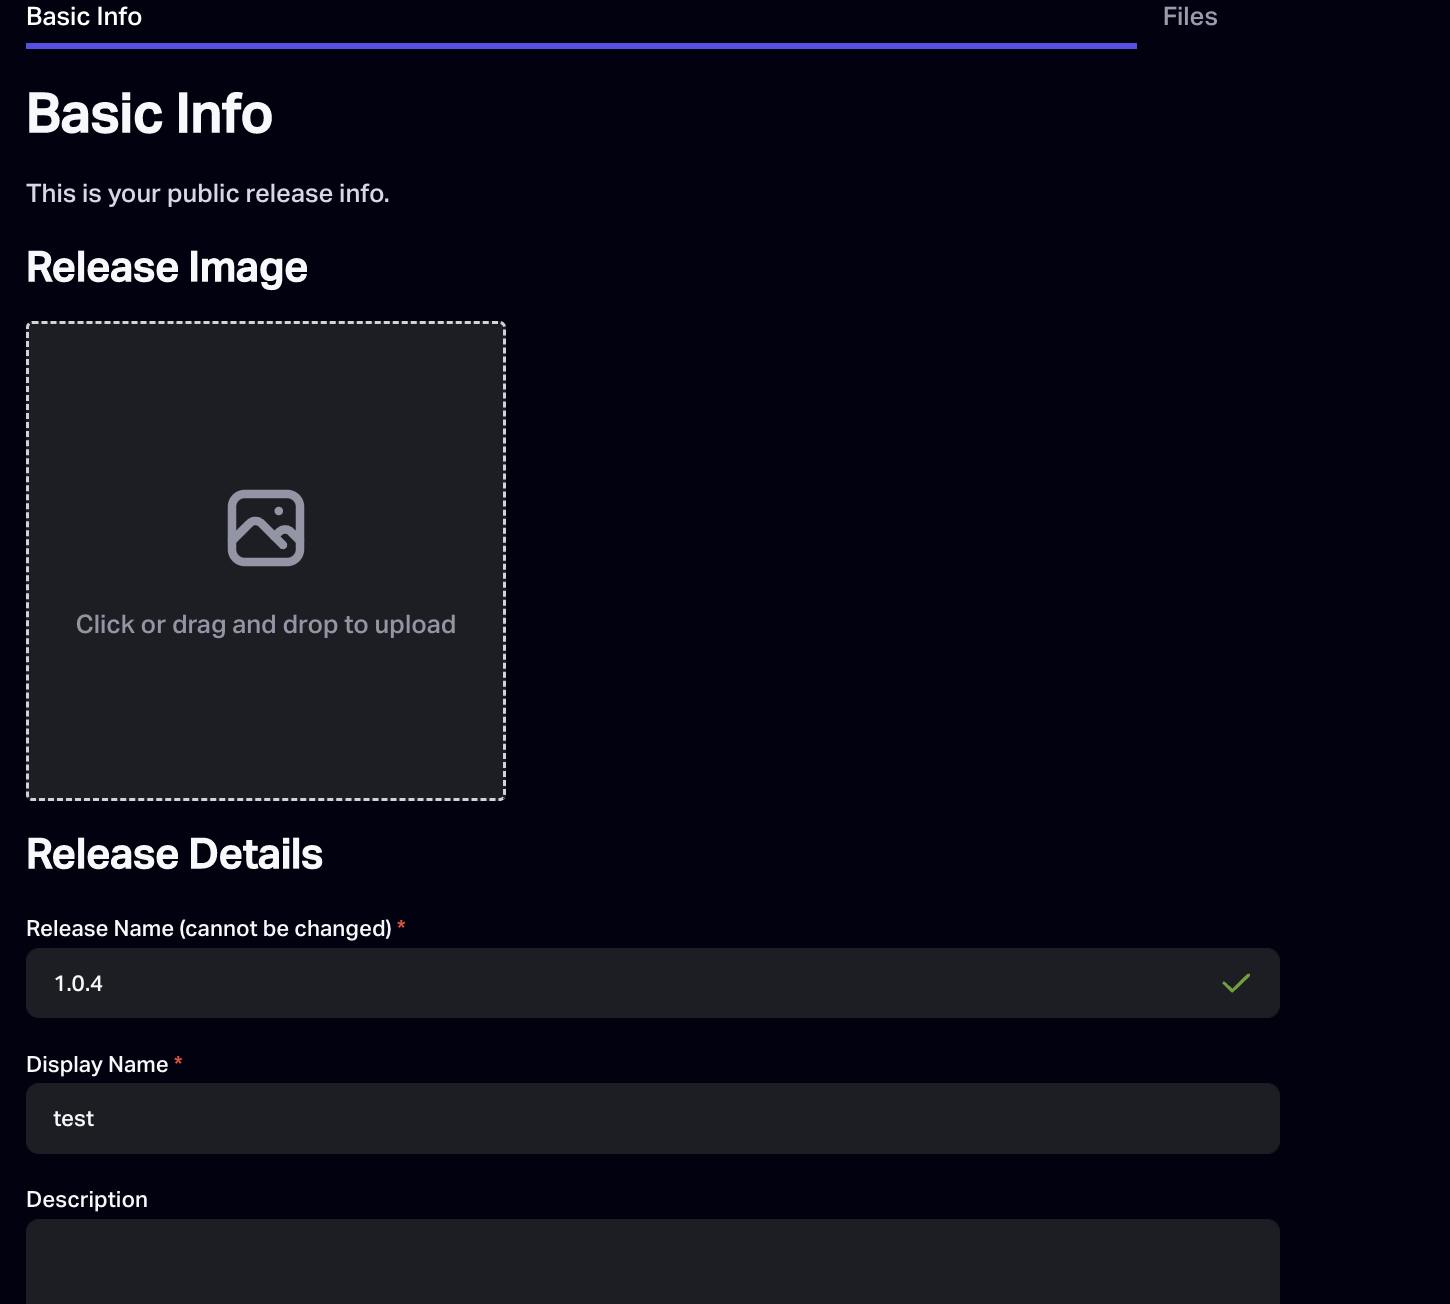
Add Release Details:
- Release Name
- Display Name
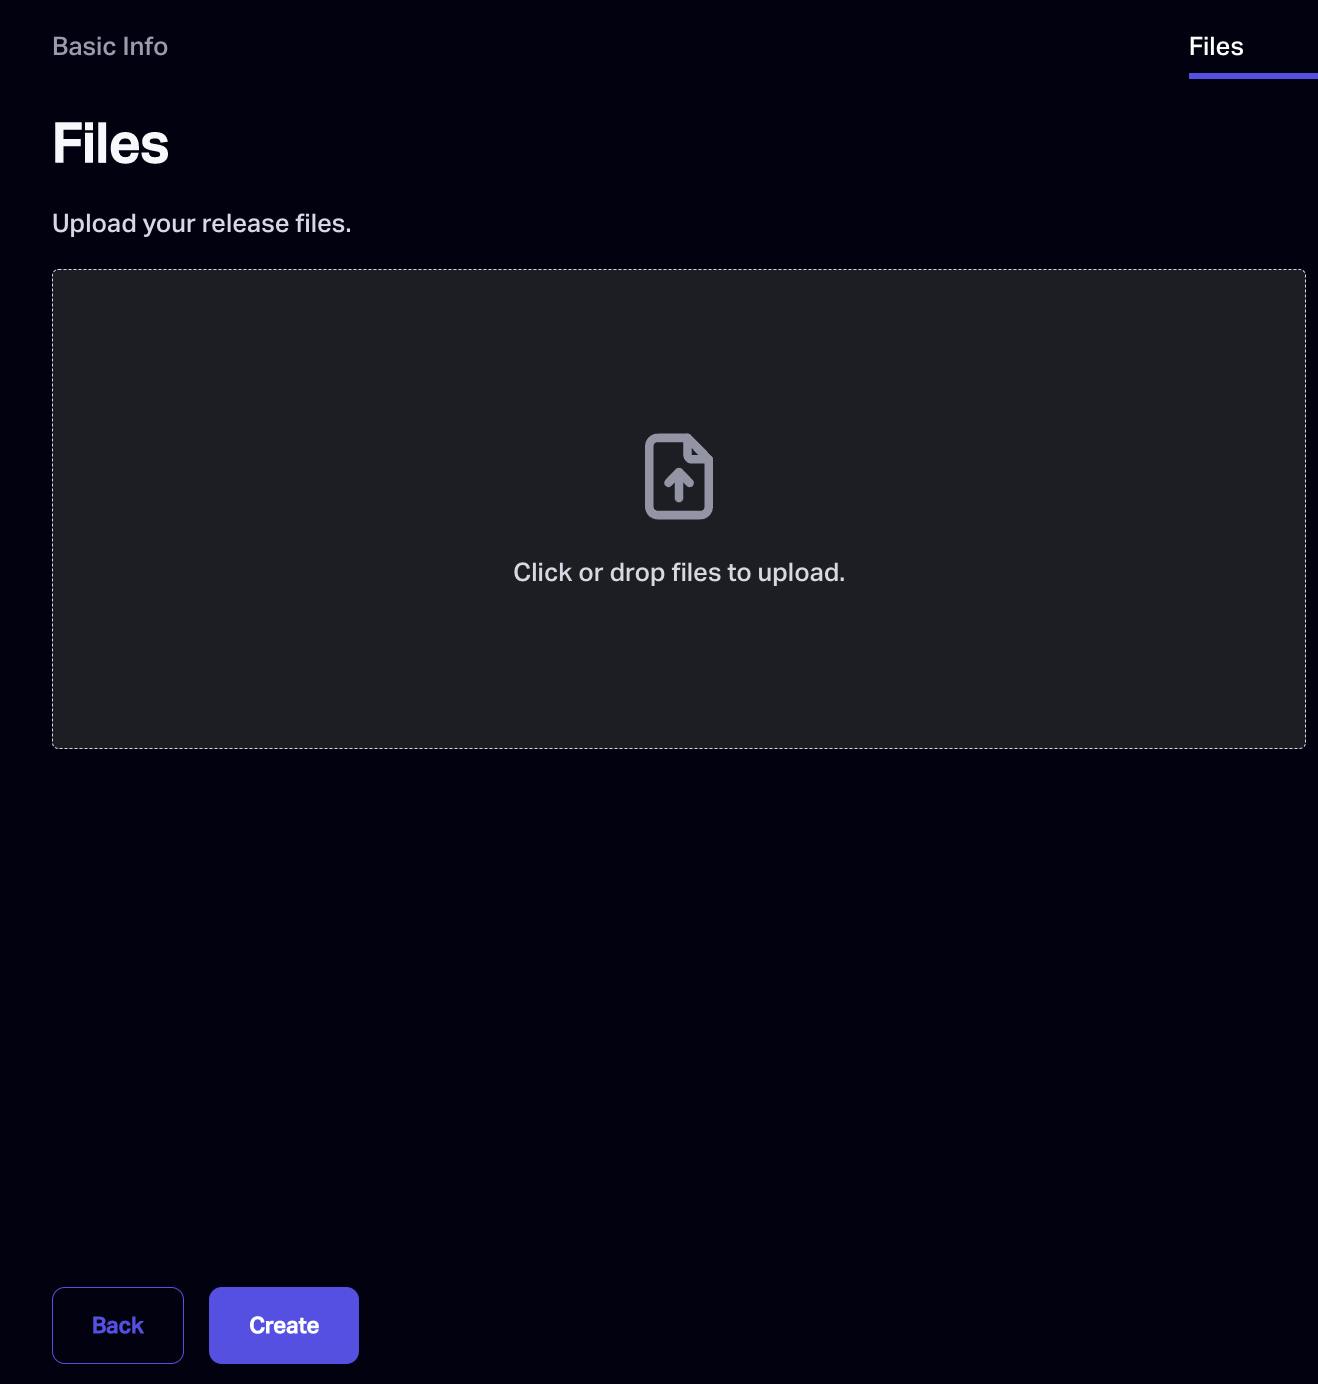
Upload the out folder (Drag and drop or browser and upload):
- Create and Sign:
- Once clicked on Create button after above step you will be popped up with a window where you will need to click on sign.
This will be a meta-transaction which means Valist will be paying for gas and other things, they just need authorisation.
- Once clicked on Create button after above step you will be popped up with a window where you will need to click on sign.
If you are stuck, you can always ping Valist team on discord and they will help you out.
That's it. You can click on launch and you will be able to view your deployed projects. 🎉🎊
References and Credits:
- Valist Docs
- My own experience of deploying on valist
Hope it will be useful to you 🙂. If you like blog please share with your friends 🙌. See you all in next blog 👋🏻
